Monday, June 21, 2010

Eraser Art

I moved the painted table into the kitchen and put the cake, stew pot and teapot onto it.


Flowers in the living room.

Saturday, June 19, 2010

More decorating (mostly more spending)

Finished painting the two cupboards, complete with white cupboard knobs. This works in the kitchen:


But this is too big for this house:


Bought some erasers as kitchen stuff (pots, pans, tea kettle, cake):


Another eraser is a watering can which someone left on the front porch:


Found a little chest for a bedroom and a smaller coffee table (still to be painted) and two *big* flower pots:


Tuesday, June 15, 2010

More Decorating

Havinig finished some painting, I moved stuff into the house. I'm thinking this ottoman/table is a tad big:


These are more like footstools. And that's my first attempt at a cushion. May try for a loftier one:


Baby's room has more stuff. It occurred to me, after putting the Winnie the Pooh stickers on the crib that I might have put on too many. Then I realized that that is *exactly* what I would have done in real life:


Shrubs in the flower pots:


From a distance:


Painting furniture and other stuff

Painting more furniture (and stuff)

I finished painting the two little benches. Just need to make some cushions for them now:


Mike pointed out that we have some terra cotta colored paint left over from the kitchen, so I started on all the little flower pots:


Took apart the hat boxes and painted them plum. If I don't like it when I put them together again, I can always cover them with fabric. Did the bigger one in peach:


Terra cotta for the kitchen cupboard:


Peach for the wardrobe-y thing:

Monday, June 14, 2010

Progress without Pictures

I put the second coat on the benches I started yesterday, as well as the crib, but forgot to take pictures before coming upstairs and 600+ calories on the NordicTrak precluded another trip downstairs.

But I went to Michael's to buy an angled paintbrush and came home with mini frames for pictures (no, of course that's not what they *really* are):


Some erasers that look like stuffed animals for the baby's room:

And some dowel ends that resemble flower pots as well as two possible kitchen cabinets, both of which cost $1:

Sunday, June 13, 2010

Painting the table

Decided to paint the table, rather than finish it with stain. After all, it's just plywood. Here's the first coat on all but the legs I had to hold onto:


I had to snip off part of each leg because the table was three inches high -- a tad high for a 1/12 dollhouse. One of the legs is kind of crooked, which I will either sand even or try to make a little clay matchbook to put under it the way my folks did when I was growing up.

Saturday, June 12, 2010

Moving in!

First, furniture: two love seats (need cushions), which received their first coats; a crib; and a table, whose legs I had to saw off to make it the right scale (haven't painted the table because I'm thinking of wood stain instead):


Then -- occupants! Went to a dollar store and bought six residents which I expect my granddaughters to make off with, as well as hatboxes which may turn into ottomans and a big hat box which will possibly be a table in the living room. That's the crib mattress on the upper right. Need to make cushions for the benches. Right now the hatboxes help make it look like moving in day:


Thursday, June 3, 2010

Fixing the drunken flowerbox

Floral moss, plastic flowers and quick-set glue. Hopefully, the crooked flowerbox is no longer obvious:


Wednesday, June 2, 2010

Oops

Forgot this picture of the curtains from the inside:

Day 21 -- Finished (How'd *that* happen?)

Finishing touches included gluing a little mirror with a butterfly sticker over the gable window:


Gluing on a doorknob:


Where do I put the tiny keys?:


Interior doorknob:


Constructing a pelmet for the windows (card stock, paper, craft sticks):


Finished pelmet:


Gluing lace to pelmet:


Exterior view of hung curtain:


Judy told me about and sold me a miracle tool for cutting (mitered), and, wow, does it ever:


So it was easy to cut the side stripes to finish the outside:

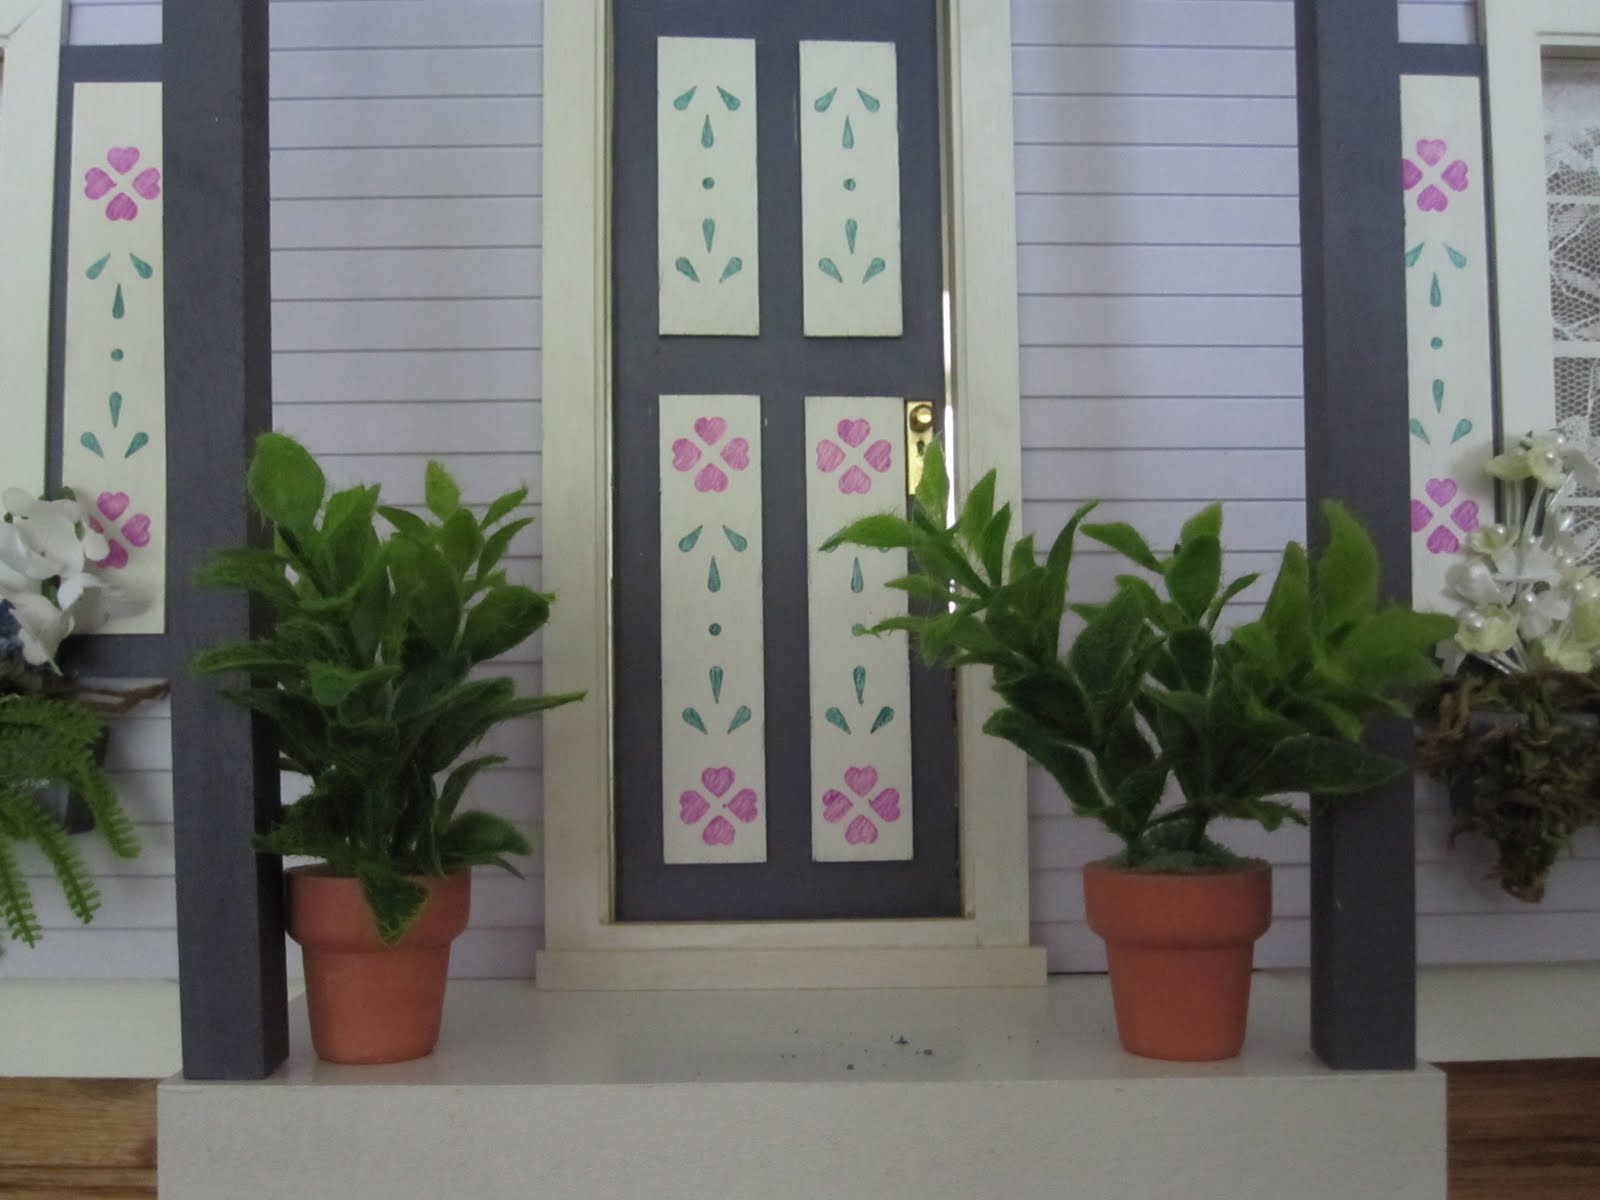
(The porch rails are *not* crooked).

And it's done!

Now for decorating the interior.... (a.k.a., the saga continues)

Monday, May 24, 2010

Day 20 -- Still Adding Finishing Touches

Remarkably many photos for remarkably little work.

The front of the house with all but the side trims glued on:


Copied and framed some artwork (my mother and her father on her wedding day, me as a little girl, Mom as a young woman, a crossstitched monarch butterfly):


Problem. There is a base for the floor which gets glued under the door. But it doesn't fit! I put the door in as high as I could, but there's not enough clearance. Solution? (1) Ferget about it (2) let Mike shave it. I'm thinking (1).


Glued on the side gingerbread. There is very little holding this on. I couldn't tape it to the shingles without taking some shingle dye off, so I'm worried about tomorrow when I take the tape off. Mike may have to get out his trusty little hammer and start nailing:


Glued the stringer onto the stairs and the stairs onto the house:


The other side's gingerbread:

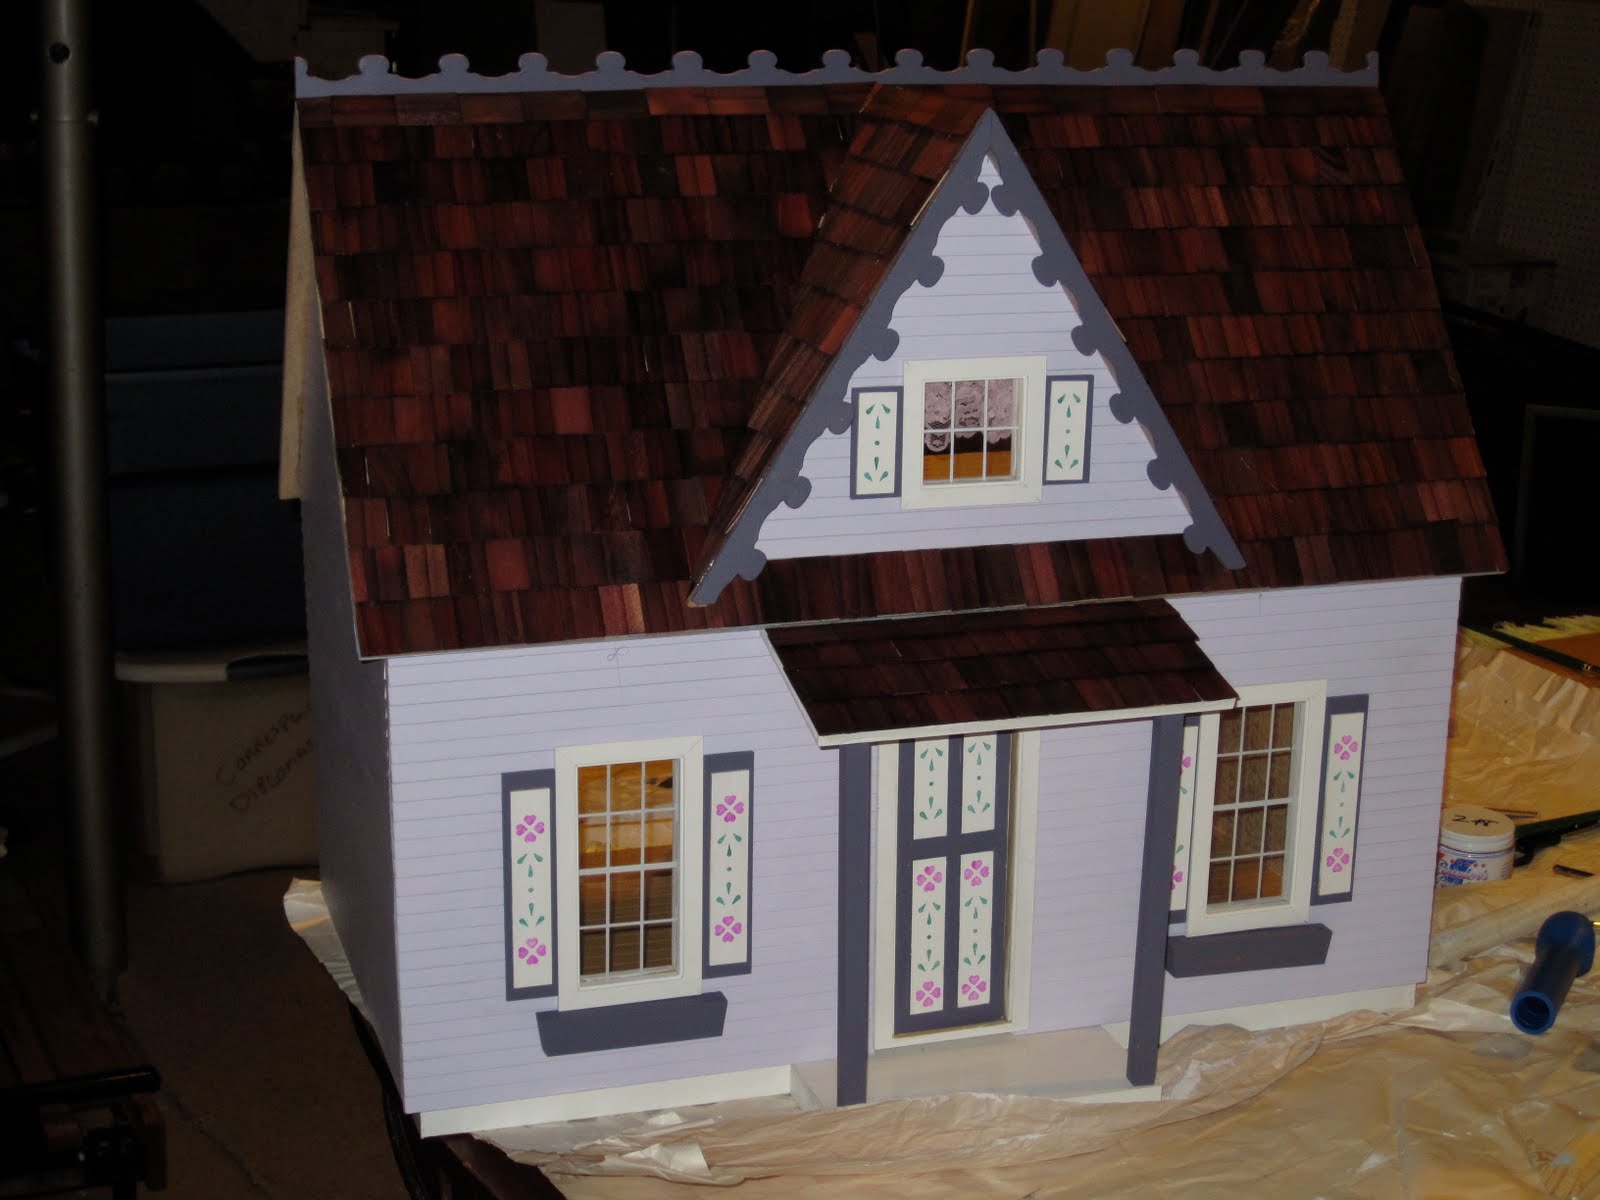
Oops. Need to paint that blip on the side of the gingerbread (both ends):


From a distance it looks pretty good:


Close-up? Not so much. I have a drunken flower box which needs to come off and get repositioned:

Of course, the big decision is still pending. Do I feel comfortable enough with my construction that this dollhouse will stand up to the wear and tear of four little girls? Of course, if I don't give it to them, that means I keep it for myself, which may make Mike wonder about whether or not I've entered some kind of second childhood. I suppose it depends on how much better I am at building a second one.

Things I've learned

(1) Identify every piece.
(2) Dry fit everything before installing anything.
(3) Decide on a complete color scheme -- paint and paper -- *before* beginning.
(4) Get a pencil and mark *every* surface with the color to be painted.
(5) Put a tarp on the table, not newspaper.
(6) Check to see if there's a pdf of instructions from the manufacturer and compare it to the instructions that come with the model.
(7) Write out detailed instructions for myself of every step to follow.
(8) Ask Mike to review my instructions and make (inevitable) suggestions for doing it better.
(9) Ask Mike for help frequently *before* proceeding to do something wrong.
(10) Design some kind of rack for holding pieces to be painted.
(11) Prime everything to be painted.
(12) Keep it simple.

Sunday, May 23, 2010

Day 19 -- More help from Mike

I found more glue and finished the interior wallpaper, glued in the partition downstairs and put in the windows:


I tried to put in the door but got confused -- do I put it in from the inside or the outside? The instruction manual was less than helpful, as all it said was, "Install the door." But an email to Judy at the dollhouse store (and with help again from Mike), problem solved.

Meanwhile, I glued on the shutters and window boxes for the downstairs windows:


Then the Miracle Man showed up with his mighty Dremel and trimmed the shingles even with the sides of the house:


Next time, I'n not cutting the shingles before gluing them on. Not when Mike has a dremel that shapes them up so easily.