The plan for today was to at least finish the downstairs wallpaper. Because my previous attempt at cutting a template for the staircase wall had resulted in a trip back to the hobby store to buy more paper, I asked Mike if he had a better measuring device for real precision. He gave me the use of a carpenter's ruler. He was explaining how to use it on something other than the dollhouse, but I got confused, which led him to demonstrate on the actual wall to be measured, watching me as I did it. And (gently -- very, very gently) -- pointing out better ways to measure. Happy, I went and cut a template, took it to the house to check and realized I had cut a divot out down instead of up for the stair at the top of the wall.
Which led me to the depressing realization that Mike must have married me for my looks instead of my brain, which, although not as sharp as it once was has still faired much better than my looks.
Chagrined, I mentioned this to him and he responded, "I have a tool for that, too." Lots of them:

Again, under his careful tutelage, I measured a template. As I was about to cut, he said he found it a good thing at this point to mark out the lines I wouldn't be cutting:
Clever boy.
So I cut the template, tried it out for size and prepared to cut the actual wallpaper. Mike saw this and said, "I've found that it's more actuate to measure the piece to be cut again, rather than use the template to draw cutting lines." A nonbeliever, I marked the lines from the template onto the paper (backwards, until he pointed this out) and then measured. Hmm... He was right. The dots are from the template, the lines from measuring:
Then the gluing -- a perfect fit!

Unfortunately, at this point I ran out of glue. I cut the remaining pieces for the back wall of the living room and the side and back wall for the kitchen and now wait for a trip to the store for more glue. Once these pieces are in place, I can set in the stairs, windows and door, glue on the shutters and door trim and affix curtains.
W00t! Time to start picking out the next model.


 (The porch rails are *not* crooked).
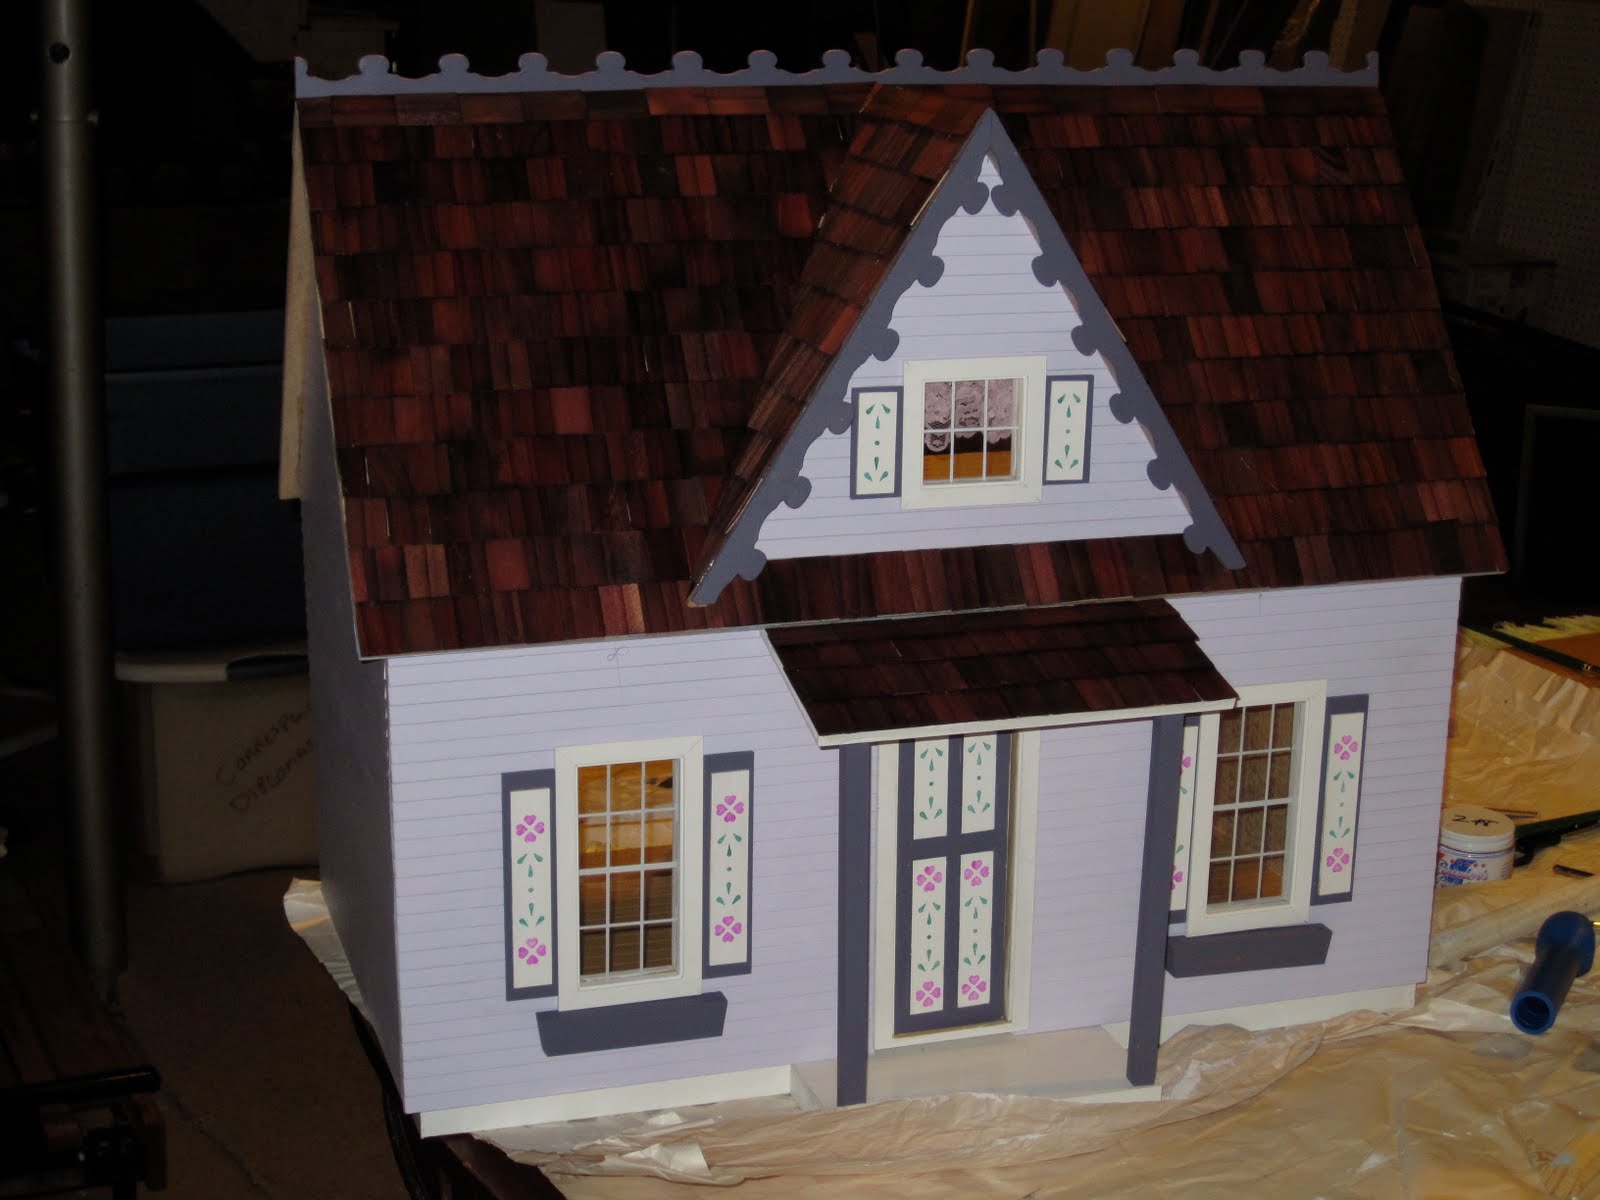


 Oops. Need to paint that blip on the side of the gingerbread (both ends):

 Of course, the big decision is still pending. Do I feel comfortable enough with my construction that this dollhouse will stand up to the wear and tear of four little girls? Of course, if I don't give it to them, that means I keep it for myself, which may make Mike wonder about whether or not I've entered some kind of second childhood. I suppose it depends on how much better I am at building a second one.


 Next time, I'n not cutting the shingles before gluing them on. Not when Mike has a dremel that shapes them up so easily.


